Desktop Tile Templates
Ostendo Desktop Tiles are like windows tiles: they are just shortcuts to Ostendo programs/reports or files or to external URL links.
Bydefault, Ostendo has one System Default Tile Template that is specified globally at a System level. (You cannot modify this). Below this level, Users can be linked (via their Security and Options) to specific User-default Templates.
If no Template is defined at a User Level, the System Default is used.
At anAdministration level, one or more new Tile Collections (Templates) can be created (eg: Manufacturing, Sales etc..) and linked to appropriate users.
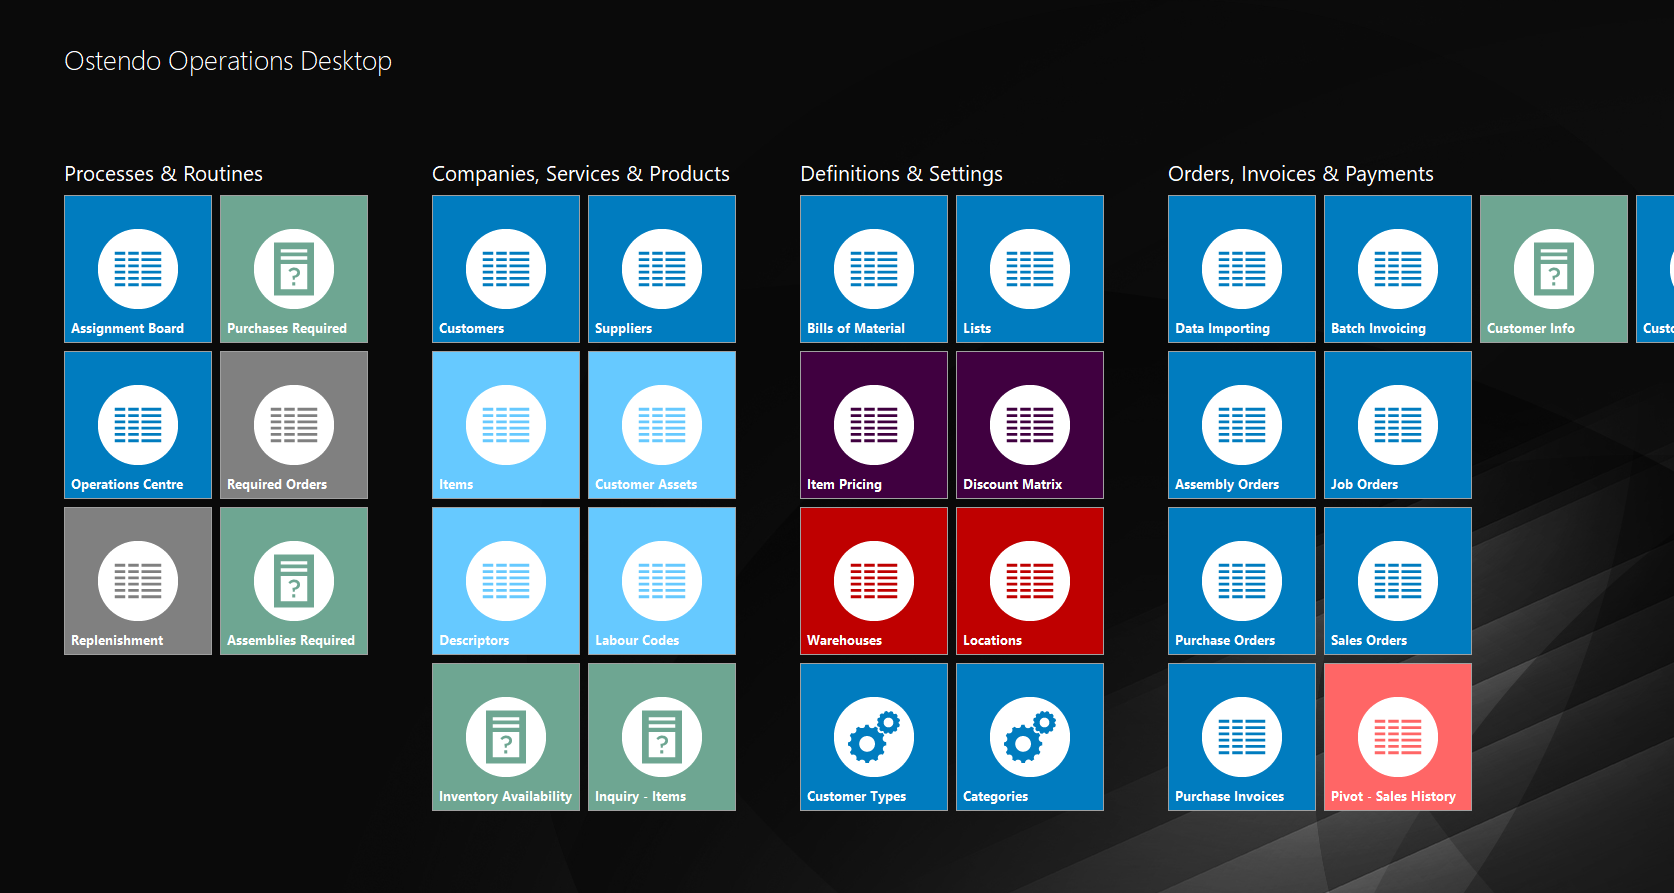
Each Tile Collection (Template) can have multiple custom Desktop Tiles with different Tile Colours or a Tile graphic to represent the Tile shortcut.
When a Tile Collection (template) is assigned to an Ostendo User (File System Configuration -> User Security and Options-> Options Tab), it serves as his or her Default Tile Collection. (If the user has no assigned Tile Collection, then by default he/she gets the System Default Tile Template.)
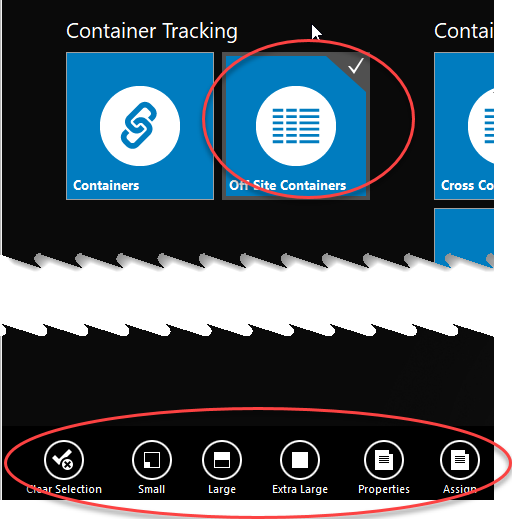
At theUser Level, individual users can further control their specific Tiles layout presented under their profile by right-clicking on the Ostendo desktop background or on the tile itself or just move the tiles and re-positioning them by dragging them around the desktop...
Right: clicking on theOstendo Desktop backgroundwill display the following buttons at the bottom right of the screen:
Right click anywhere on the screen (black area) to control these attributes.
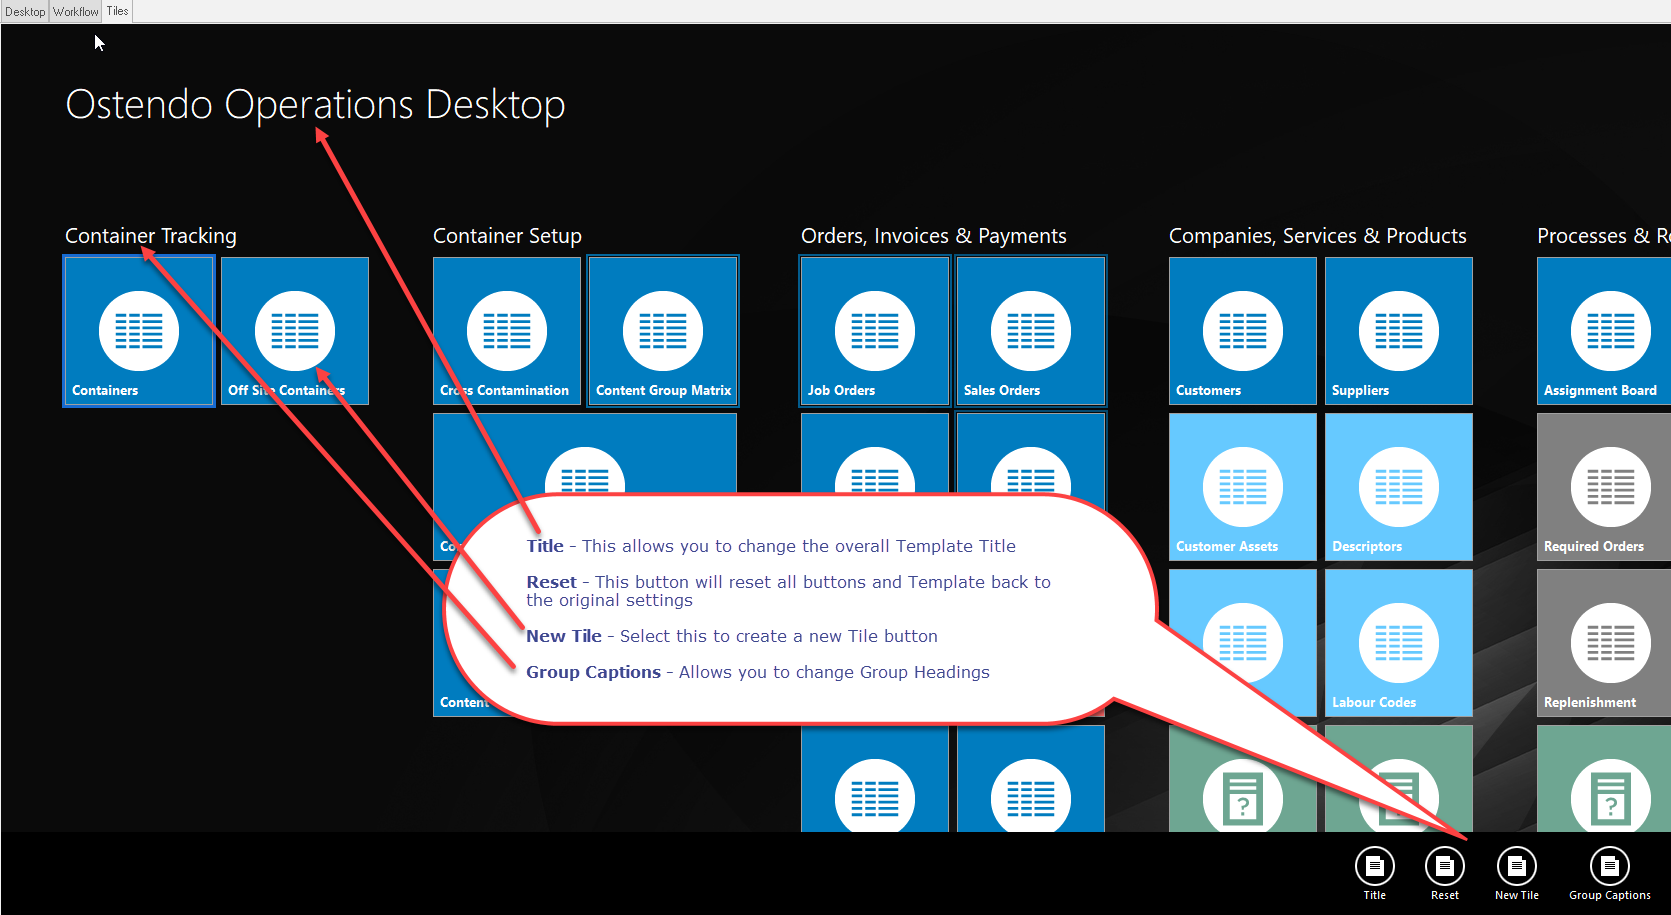
To customise an existing button, Right Click on the Button and the following options will be displayed at the bottom left of the screen.
In summary, the user can perform the following with the tile layout on his Ostendo desktop:
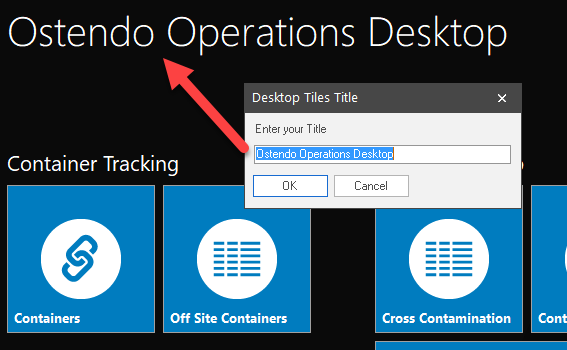
- Amend the Template Title
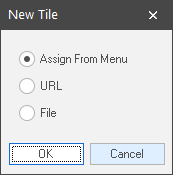
- Add / Move / Delete Individual Tiles
- Amend Tile Captions
- Amend Tile Sizing to Regular / Large (Rectangle) / Extra Large
- Assign Buttons to Ostendo options eg: specific Reports / Inquiries, screens etc.
- Create / Rename Tile Groups
- Reset entire User Tile Customisation back to the Standard Tile Template linked to that User