|
|
|

Initial Client Setup
Client Setup:
To allow preliminary testing of Update 243 against a demo database on an Amazon server, you will be provided the following files from Development-X:
- Your organisations database .txt file (This file will be separately emailed to each registered 243 test user) NB: This configuration file can also be deployed with a password, however in this instance this file will not be password protected
- ostendoconfig.exe
- ostcrypt.dll
- Ensure the three files are stored in the Documents\Ostendo folder on your own PC.
Do not place these files in the Ostendo folder on your server or in the Ostendo folder where your current Ostendo version is located
These files can technically be stored anywhere on your local PC (not the server) where you have full Windows security permissions. However, saving them in your Documents\Ostendo folder is recommended, as this guarantees you have the necessary access rights.
- Right click on the ostendoconfig.exe and select 'Properties'. Tick the Unblock box if this is visible.

- Run the "ostendoconfig.exe" (IMPORTANT: Run As Administrator). Select the Utility Updates Tab. If the Installed Version is different from the Available Version, select the Action button and Download & Update. If the versions are the same then click here to move to the next required step.

Once the new version has been downloaded and installed, the following message will be displayed

- Relaunch the ostendoconfig.exe (as Administrator)

- Browse to the ".txt" file in the Documents\Ostendo folder and press the 'Open' button.
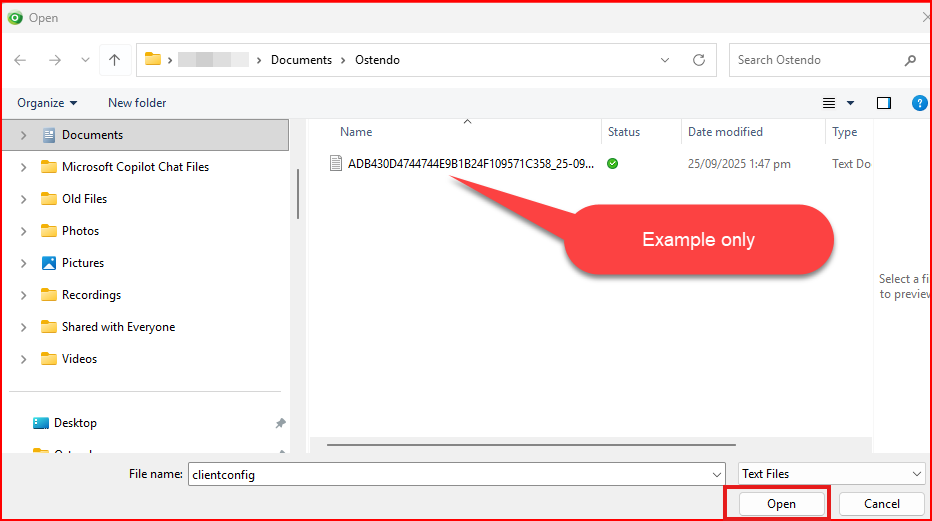
- A confirmation message with then be displayed:

- Now set the Default Company by pressing the "Set Default Company Button"

- Go to the "Ostendo Updates" tab and dropdown the "Action" button and select "Download & Install". This will download the latest version of the ostendo.exe (Update 243) file to your Documents\Ostendo folder on your PC.

- the following confirmation message will be displayed

- Close the Ostendo Client Configuration screen
- Your \Documents\Ostendo folder on your PC should now contain the following files required to run Update 243:
- Your organisations database .txt file
- ostconfig.cfg
- ostcrypt.dll
- ostendo.exe
- ostendoconfig.exe
- From this folder create a Desktop Shortcut of the Ostendo.exe and name that Shortcut "Ostendo 243" (The Public Release will allow a shortcut icon to be created)

- You are now ready to log onto your organisations Ostendo Demo Company and start testing Update 243
- After launching Ostendo from the new Shortcut, type in your email address (NB: We have already preset all registered 243 test user accounts up in your database with an initial default password of 'PASS'). NB: This is uppercase.
- After entering the log in information, you will be prompted to change your password to a stronger password constructed as follows: (All users have been setup as 'Administrators' for the purpose of testing)
- Minimum of 8 characters
- Must include alpha / numeric characters
- Must include at least one UPPER case and one lower case letter
- Must include at least one symbol eg: ! @ $ etc.....
- We have setup a DEVX user in your database. Please do not remove this or change the password.
Please ignore the other Tabs and Actions in the Ostendo Client Configuration screen as work on these is on-going.